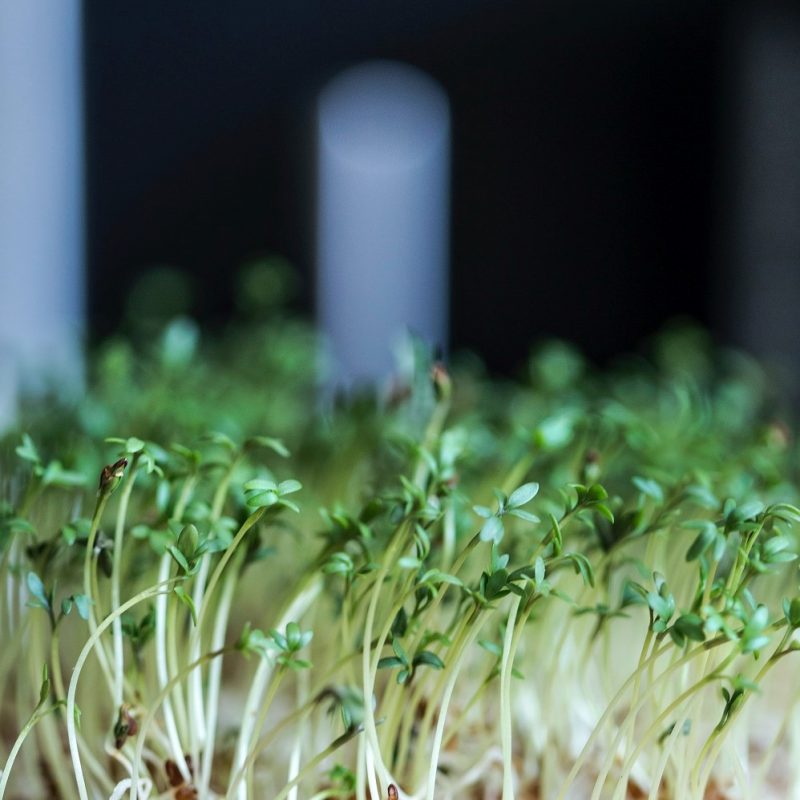
We all know that eating greens is great for our health. But we also know that the pre-packaged bags of greens at the supermarket can get super expensive. One of the ways of combating this is to grow sprouts, on your kitchen bench. No need for a garden! And they pack a punch nutritionally. You can add them to your salads or smoothies, and know exactly where they came from and how fresh they are. It’s also super easy! Which makes them a gratifying vegetable to grow. Give it a try! If you are like me, you will get addicted.
You will find loads of information online about how to grow sprouts, mostly using Agee (or Mason) jars. However, here’s how I do it:
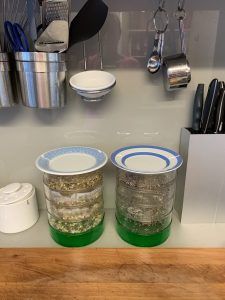
I use two sprouters that I bought from Bunnings called Mr Fothergill’s Kitchen Seed Sprouter for $20 each (I am not being paid to advertise these… I just like them!!)
I keep them by the chopping board and sink, so I never forget them. Twice a day, I water the sprouts by emptying the bottom tray, then fill the top tray up with water. That’s all you have to do!
Here is a good video to get you started, from the manufacturers of the sprouters – getting started with sprouting.
Once you have watched the video, here are my other tips and tricks, from my experience using the sprouters:
1/ I like to place a small plate on the top of each sprouter (picture above). I find that this retains moisture within the sprouter, and stops the top layer from getting too dried out. This is especially relevant in summer.
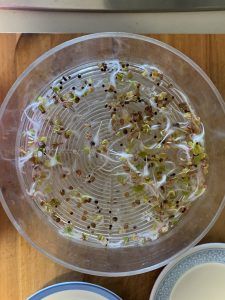
2/ Don’t be surprised if your seeds get a weird fuzzy look to them as they start to grow. When I first saw this, I thought it was mould, but it isn’t. It’s actually the roots growing on the seeds, and this phase usually passes.
3/ You can buy sprouting seeds from Bunnings as well. However, now that I grow sprouts all the time, I find it is easier to buy online, in bulk. I mostly buy from Kings Seeds. They have a huge selection, and my favourite is broccoli seeds. Broccoli sprouts kill it in terms of nutritional punch, so I grow them all the time.
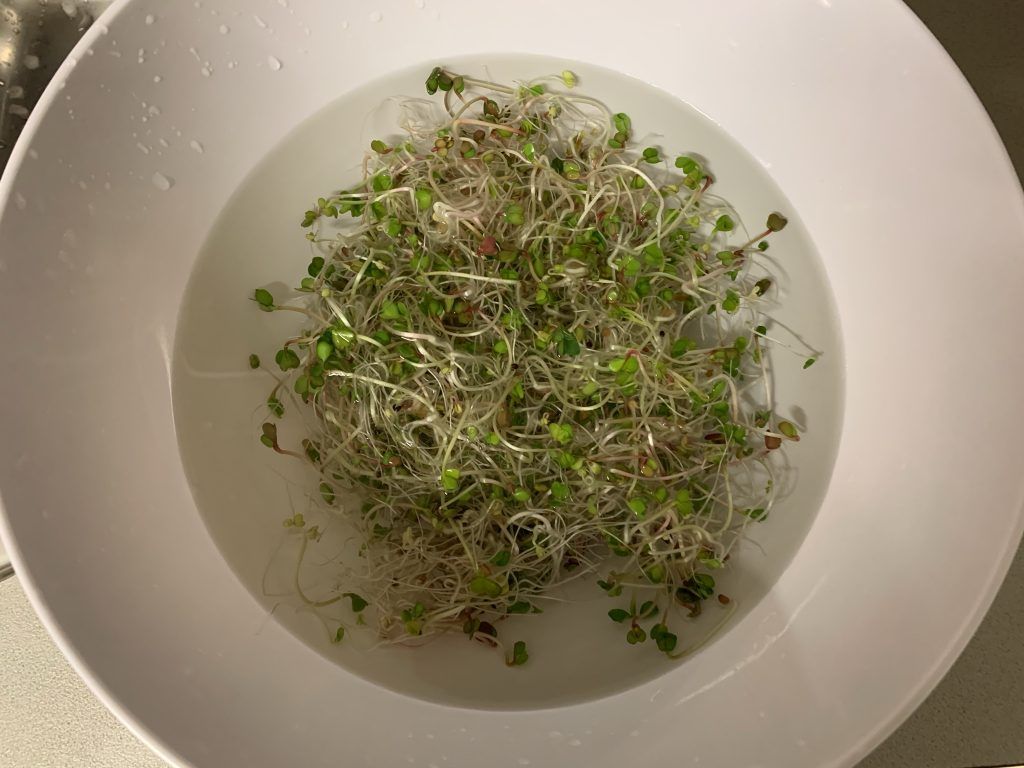
4/ I usually grow all four trays at the same time, then rinse and store them all together, then grow a whole new batch. This seems easier to me. Once the sprouts are ready to harvest, they definitely need rinsing, as they have a slightly slimy thing going on. I transfer them to a large bowl, then fill it up with cold water. Holding onto the spouts, I drain off the water, then fill it up again. This also helps with getting rid of the pesky seed pods that have been shed during sprouting. After doing this a few times, I put the sprouts into a container in the fridge. It is important to drain off as much liquid as possible, as the sprouts will spoil if left sitting in water.
5/ You don’t have to only use “official” seeds to grow sprouts. I use regular lentils and chickpeas, just bought from the supermarket, and they work well. Sprouting them also makes them easier to digest. Sprouted chickpeas make fantastic falafels.
I hope this helps with your sprouting journey. Let me know how you get on. If you post photos of your experience on Instagram, just tag them with @abundantlyclear.nz and I will see them!
Main photo by Milada Vigerova on Unsplash
Happy Sprouting!


Recent Comments