Large crown pumpkins are often abundant and cheap in winter months, and there is so much you can make with them. I usually roast pumpkin, along with onions, and cumin seeds for my Roast Pumpkin Soup. This doesn't use the whole pumpkin, but I roast it all anyway, and use the leftovers for:
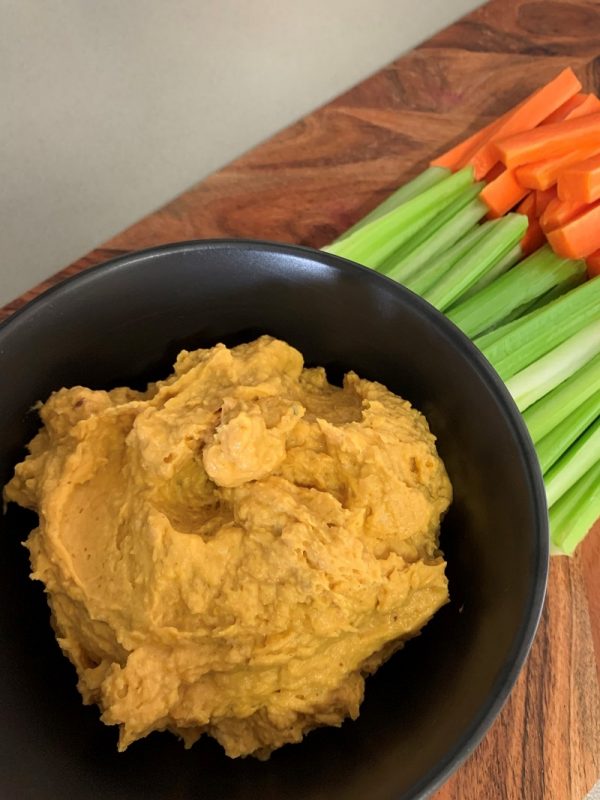
- Roast Pumpkin Hummus (this recipe!)
- Sliced roast pumpkin in my lunch salad bowl (with roast pumpkin hummus as well - Bam!!!)
- Pumpkin & Spinach Risotto
- Indian style curry
Roasting pumpkin gives it a rich flavour, and a soft but dry texture. Given that pumpkins can be hard work to cut and peel, I consider this to be a weekend prep job (admittedly, one that my partner seems happy to do!). Once the pumpkin is roasted, and in my fridge, it can quickly be used in dishes like this one. Enjoy!!
Please note that when you roast the pumpkin, you don't use any fat or oils in the pan. Just line it with a silicone sheet, or non-stick baking paper. When following a whole food plant based diet, and eating to optimise your health, you need to steer away from using oils and added fats. This benefits your heart health especially, but is good for your health in general. And if you are watching your weight, you will be avoiding a tonne of empty calories too. What's not to love! 🙂
Add all ingredients into a food processor with the blade attachment. Blend until very smooth. Scrape down sides from time to time during processing to ensure all ingredients are smoothly combined.
If hummus is too thick, add reserved bean liquid. If still too thick after the bean liquid is used, add water.
Store, covered, in the fridge for up to a week.
There is no need to rinse the beans when making hummus. In fact, I believe that the aquafaba (the liquid that comes with the beans) improves the consistency of the hummus. You can change out the beans for what you have on hand, or prefer. I rotate between chickpeas, cannellini beans, and butter beans. Experiment, and see what you prefer best.
The best way to enjoy this hummus is at room temperature. Once it has been refrigerated it becomes more stiff. If you plan to eat it soon after you make it, then leave it out of the fridge until you eat it. When eating it later, take it from the fridge about 30 minutes before you eat it to allow it to soften. This aspect makes it a perfect lunch box snack.


Leave a Reply